Skip to content
Work
AR/VR
Game Art
Game Dev
UI/UX
Blog
Contact Me
Home
/
Blog
In
Unity
Unity
,
VR/AR
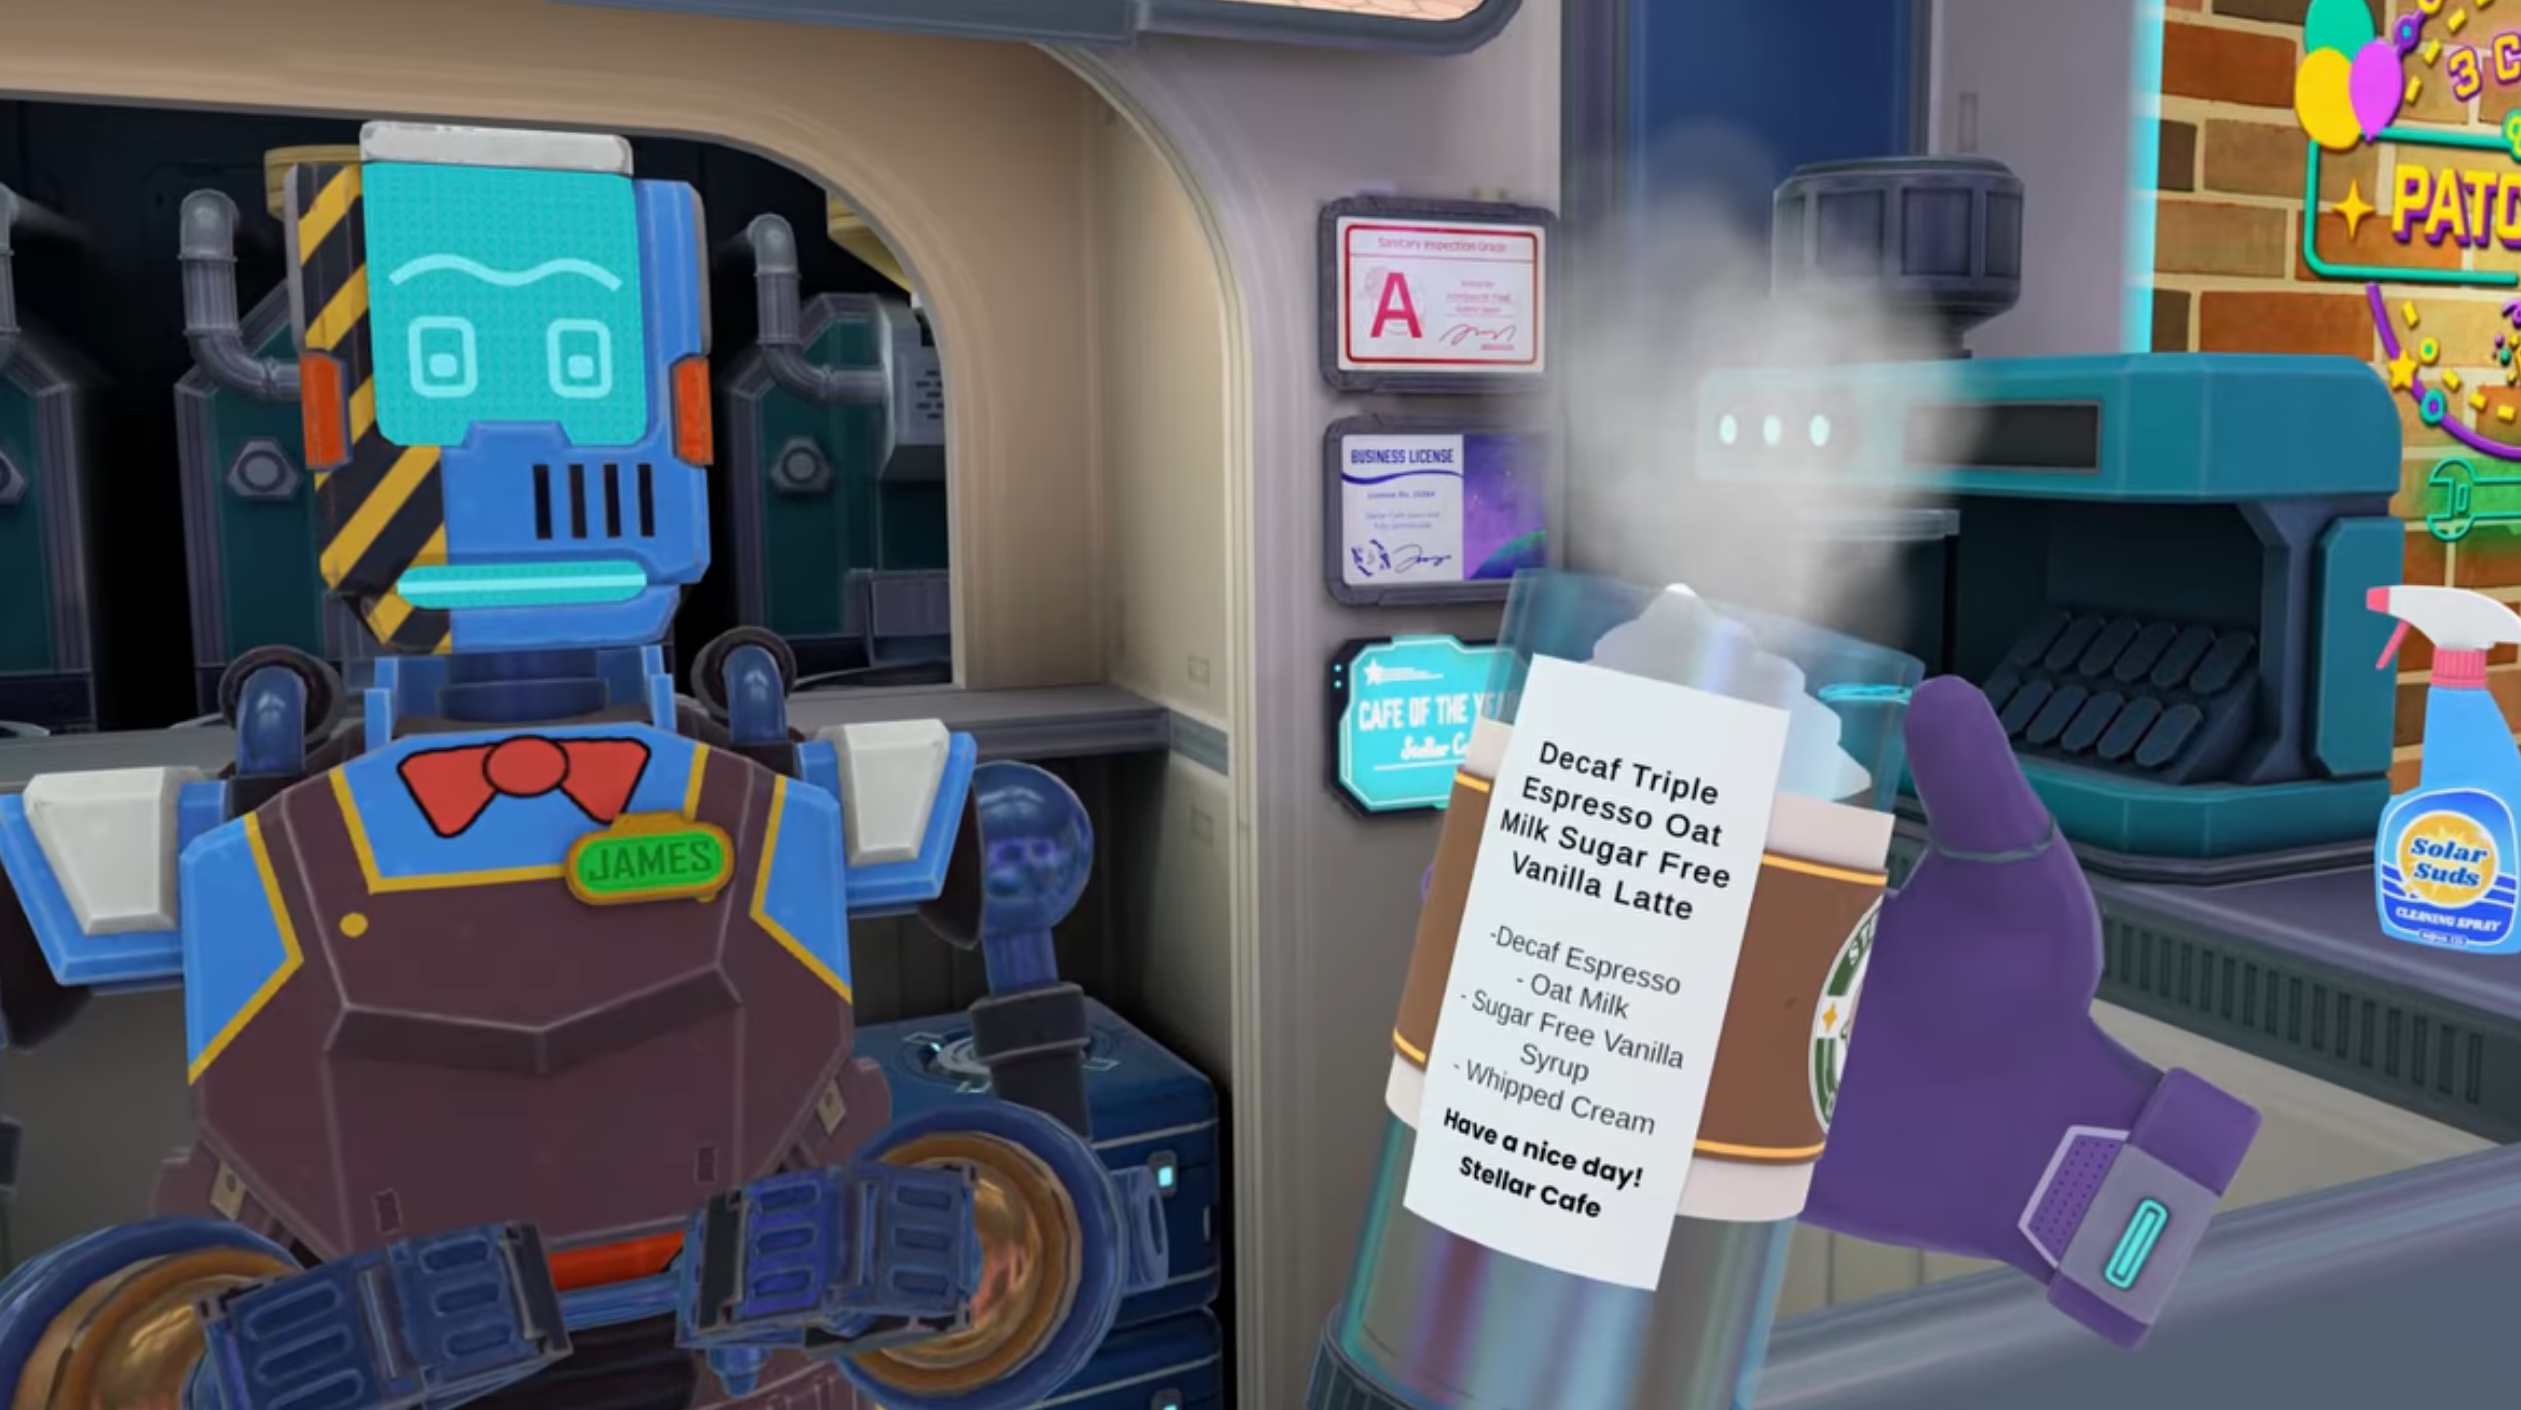
2025 – VR AI Voice Powered Stellar Cafe
By
Ashley
•
Jan 30
Game Dev
,
UI/UX
,
Unity
,
VR/AR
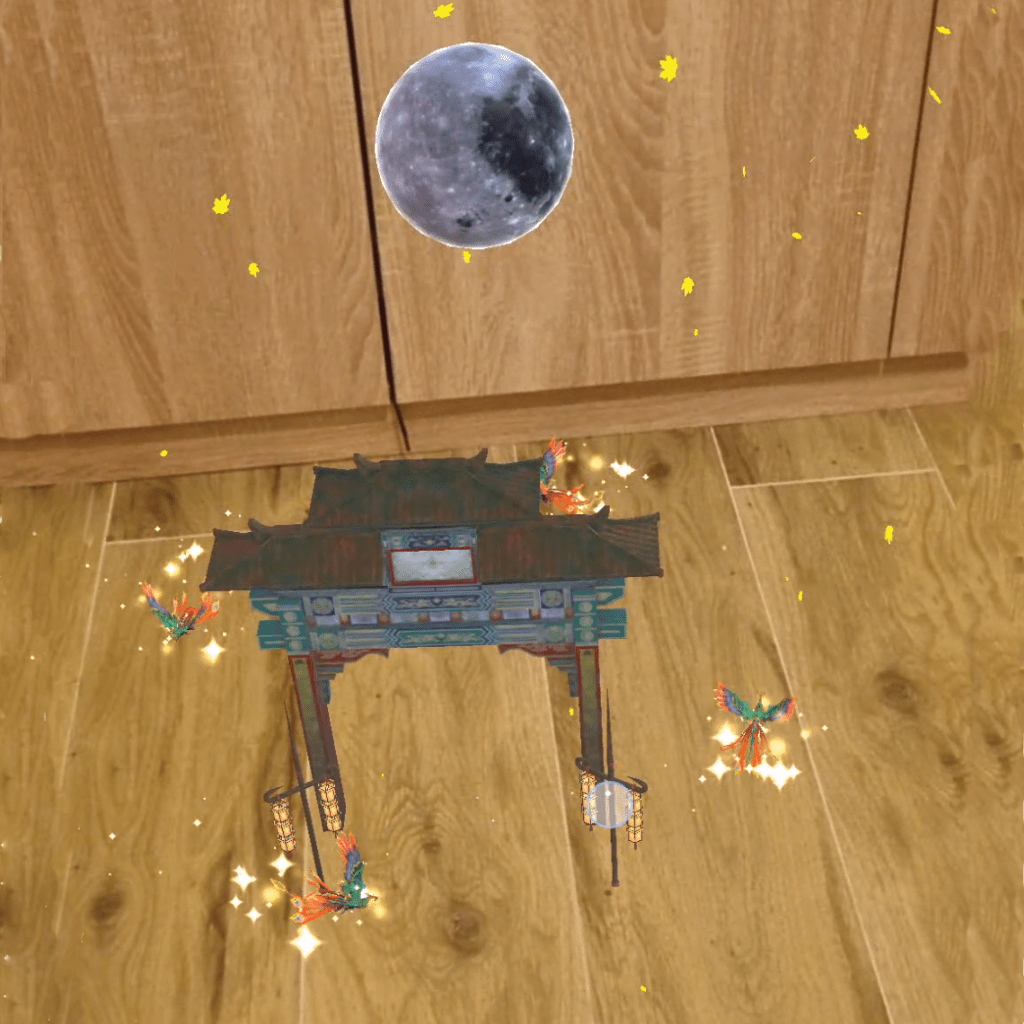
2023 – AR Paifang Tourist
By
Ashley
•
May 20
UI/UX
,
Unity
Game UI – Quick Tips for Quick UI
By
Ashley
•
May 9
Unity
AR/VR
By
Ashley
•
Apr 11
Game Art
,
Game Dev
,
Unity
,
VR/AR
2021- 2022 AR/VR Enklu
By
Ashley
•
Nov 11
Game Art
,
Unity
2018-2020 – Sakeworld
By
Ashley
•
Nov 11
Game Dev
,
Unity
2016 – Organize It
By
Ashley
•
Nov 10
Game Dev
,
Unity
2013 – Dark Echoes
By
Ashley
•
Nov 10
Game Dev
,
Unity
2020 – Birdboys
By
Ashley
•
Nov 7
UI/UX
,
Unity
Unity UI Quick Solutions
By
Ashley
•
Jun 25
1
2
Next Page
Ashley Hooper